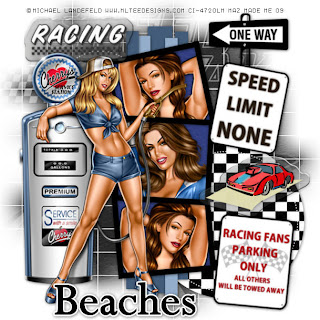
Here is tut for you all.
Remember to leave some LUV.♥
A Thank You goes a long way!
Enjoy!
♥
I am using the beautuful artwork of Michael Landefeld.
You must purchase a license to use this art.
You may do so at CILM HERE
♥
Supplies:
3 tubes of choice & Font of choice.
I used Riven.
Mask of choice.
Template #17 by Dee
you can get it HERE
TY Dee ♥
Another Fabby Freebie Kit From
Tantrum Scraps which is now closed..
It's Called Speed Limit.
And It Can now be found: HERE
Thank You Tantrum!
♥
Ready? Lets go
Open your Template #17 by Dee,
Delete copyright layer.
I kept it at the size it is & resized later.
In layer pallet go to the bottom layer which is the
background & floodfill white
Add a new raster layer. Selections, select all.
Resize & paste a paper from the kit into selection. Select none.
Apply a mask, and on your layers pallette merge mask group.
Click on circle 1 layer,selections,select all,float,defloat
Resize and paste a paper selections,invert,delete on keyboard.
Repeat the steps above to do the rest of the of the template.
I floodfilled stips with colour from tube but its up to you.
Grab your magic wand and click inside the frame,
selections,modify,expand by 2 & paste paper of choice,
While still selected resize n paste tubes of choice.
Resize and paste elements and place where you wish.
Now resize and paste main tube and place on your tag
Drop shadow all elements and Tubes.
♥
See mine above or make it your own!
As always mine is just a guide.
Now X out the bottom layer and your mask layer.
Merge visable the remaining layers.
Un X the hidden layers. Position all layers nicely.
Image Resize 80-90% Bicubic resample all layers checked.
♥
Hint ;You can X out the bottom white layer
before saving to have a transparent bkg for forums..
♥
Add your Artist © and your Name
and WooT!!You Are Done!
Hope you enjoyed my tutorial & thanks for trying it!
♥
Written by Maz May 17th, 2009
Any resemblance to another tutorial is purely coincidental


No comments:
Post a Comment